Figure 1
Packaging Your Product
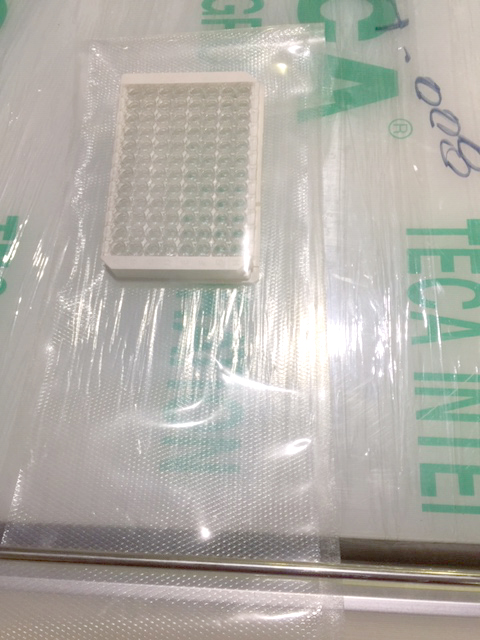
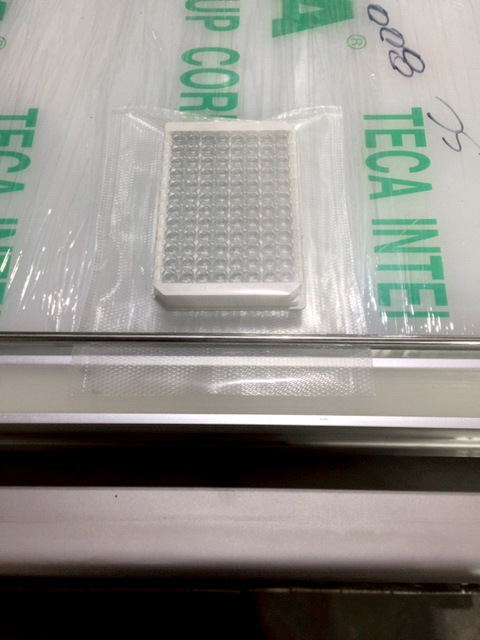
Start by placing your product in a vacuum pouch that has been specifically chosen for your product and application. Keep in mind that all vacuum pouches are not created equal. Almost all vacuum pouches consist of only one thin layer of nylon material to provide the air transmission barrier that is required for vacuum packaging. Other pouch materials like Mylar foil provide a much higher barrier and are much better for long term quality assurance. With a chamber unit you must make sure that the pouches dimensions are correct for your product (Fig. 1) so there will be enough space between the top of your product and the open top of the pouch thus allowing the top of the pouch to lay across the machines seal bar in a relaxed manor (Fig. 1). This will ensure the best quality seals on the pouch every time. A material product specialist can help you to spec in the right pouch for your product.
Loading Your Product in the Chamber Sealer
Once your product is inside the vacuum pouch the next step is to place it inside the chamber. The open end of the pouch should be placed over the seal bar of the unit and on top of the heating element. If you are using the optional gas flush feature on your chamber sealer then the small gas nozzles should be pointing into the opening of the pouch. Check to make sure that any part of the pouch opening does not protrude outside of the chamber. This is important because if any part of the bag is outside the chamber vacuum packaging of your product will not be achieved and the pouch may even burst.
Once the pouch with your product inside is properly placed inside the chamber then close the lid and the vacuum cycle will begin. In most cases you will want to allow the vacuum cycle to continue until the maximum vacuum that the vacuum pump in the machine can pull has been achieved. This will result is a very tight package once the entire cycle has been completed. However, if your product is of a delicate nature then a gas flush cycle (optional on most models) can be added after the vacuum cycle. Gas flushing allows the pressure inside your pouch to be increased so the pouch will not collapse on your product at the end of the cycle but allows the residual oxygen level to remain as low as possible unlike a package that was only subject to a partial vacuum. It is often recommended that only a light vacuum should be applied to delicate products however, that will allow much more oxygen to remain in your package once it is sealed thus robbing you of the benefit of vacuum packaging. Adding an inert gas to increase the pressure inside your package provides far superior results.
Figure 4
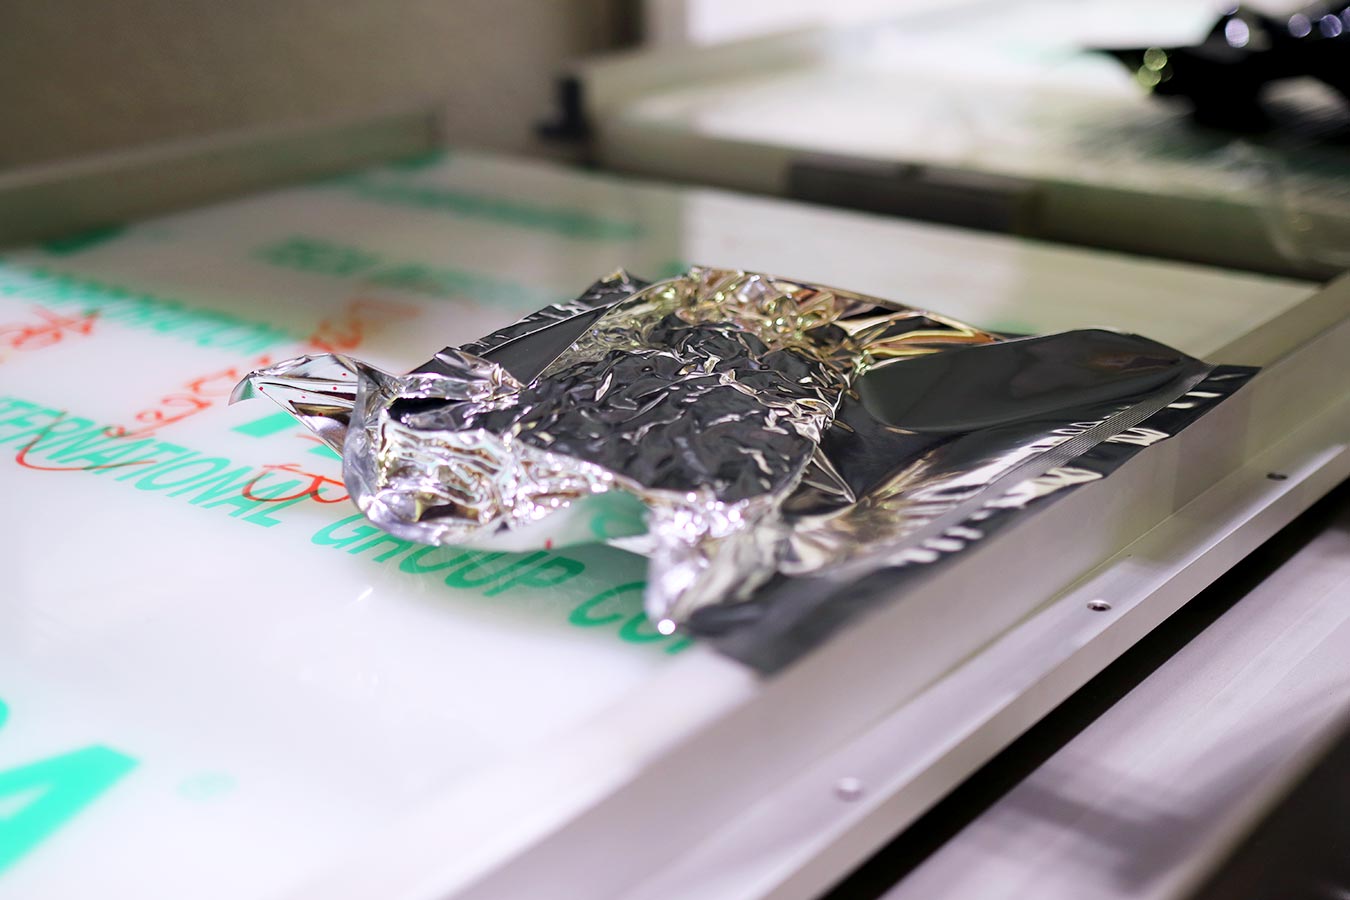
Why Does my Pouch Puff Up?
Inside the chamber during the vacuum cycle air rushes out of the chamber at a greater rate than it escapes from inside your package. This allows the pressure inside the package to be a little higher than in the surrounding chamber. This is normal and the should diminish as the vacuum cycle continues. However, make sure the end of your pouch does not pull away from the seal bar. You can watch this through the clear acrylic lid on some models or need to check the end results on other models without clear lids. Many machines also offer a simple pouch holding mechanism (Fig. 4) to help make sure the end of the pouch stays properly placed over the seal bar.
The Heat-Sealing Cycle
The end of the pouch needs to be heat sealed completly so that no air will be able to enter the pouch at the end of the cycle when the chamber cavity is opened exposing the content. The sealing of the pouch is accomplished in most chambers with a simple time-based impulse seal system. However, if your pouch material has a very narrow seal temperature window or your package must be validated then you may require an optional temperature controlled or even a validatable seal system. Be sure to talk over your specific product and application needs with an IMPAK vacuum sealing equipment specialist.
The End of the Cycle and Re-venting
Once your package is sealed then a valve in your chamber sealer opens and allows outside air to go back into the chamber cavity and for the lid on your machine to open. If only a vacuum cycle and a seal cycle were completed the pouch will be compressed very tightly around your product. If a gas flush was added, then depending on what volume of gas was introduced to the inside of your pouch then the disposition of the pouch may be anywhere from firm to very loose around your product. However, in all cases the residual oxygen inside your package will be very low.
Chamber vacuum sealers are the most flexible type of vacuum sealers as they allow for the vacuum sealing of both liquids and solids as well as allowing for extremely low residual oxygen even when working with delicate products.
|